
PLANNING YOUR CAPTURE PATH
Planning a capture path is essential to getting a complete 3D site model. Follow these planning steps to ensure clear images, accurate measurements, and easy model alignment.
STEP 1: DETERMINE CAPTURE ZONES AND TIME LENGTH BASED ON SIZE OF PROJECT
- Capture each floor separately.
- Approximately 1000 sq. ft. may be captured in 1 minute. Spaces with many small rooms or congested areas take longer and open spaces may be capture faster.
- If the space is larger than 30,000 sqft, then consider splitting the capture into multiple captures.
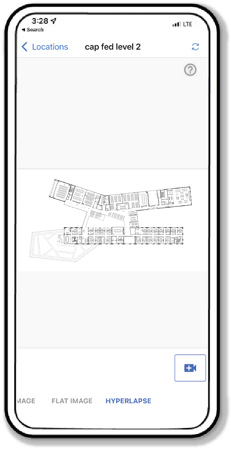
STEP 2: REVIEW THE FLOOR PLAN FOR THE BEST CAPTURE PATH.
This should include noting:
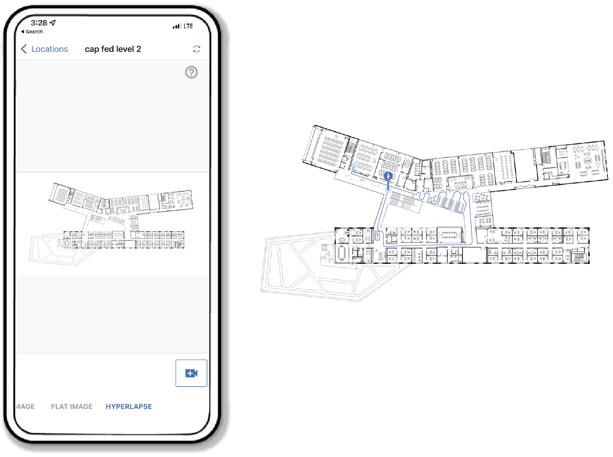
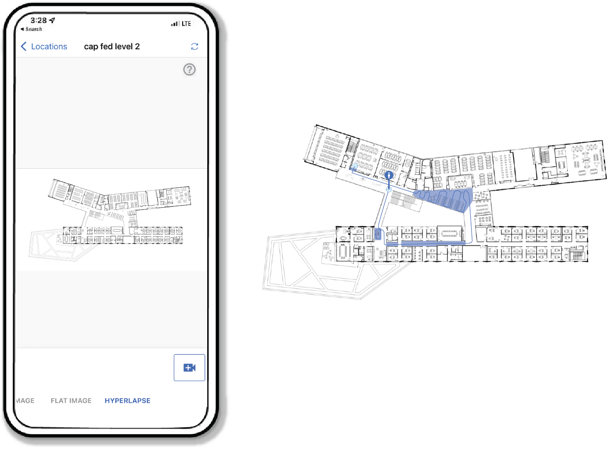
- Determine start point on the drawing, follow a path that covers the entire location, and return past the start point to close the loop and end at a different point.
- Adequate lighting in areas being captured
- Spending more time in large spaces
- Removing obstacles or walking around them
- Include redundancy in your path
STEP 3: MAKE NOTE OF THE FOLLOWING AREAS YOU WILL NEED TO WALK SLOWLY:
- Dark areas
- Around corners
- Narrow spaces
- Through Doorways
Also – review these CAPTURE BEST PRACTICES.
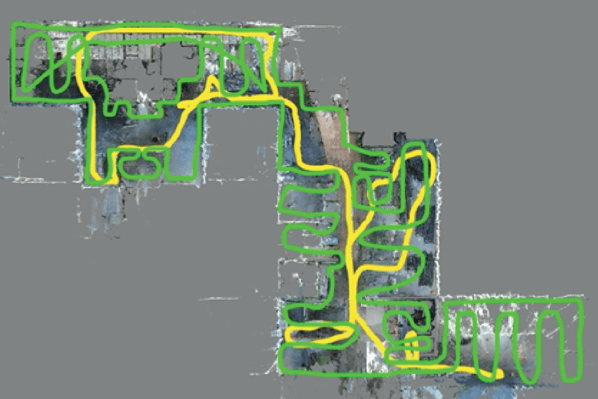
STEP 4: READY TO CAPTURE!
Once Steps 1,2,3 are clear you’re ready to take take you first capture. Here is an example of a good capture path ( in green) and a bad capture path (in yellow).
IT’S GOING TO TURN OUT GREAT!
NEXT: TAKE YOUR CAPTURE.
Looking for Help?
Visit the Help Center or get in touch with the Customer Success Team.